Launch Two User VMs on NUC using SDC2 Scenario
Starting with the ACRN v1.2 release, the ACRN hypervisor supports a new Software Defined Cockpit scenario SDC2, where up to three User VMs running potentially different OSes, can be launched from the Service VM.
This tutorial provides step-by-step instructions for enabling this SDC2 scenario on an Intel NUC and activate two post-launched User VMs. One of these User VMs will be running Clear Linux, the other Ubuntu. The same process can be applied to launch a third Linux VM as well.
ACRN Service VM Setup
Follow the steps in Using SDC Mode on the NUC to set up ACRN on an Intel NUC. The target device must be capable of launching a Clear Linux User VM as a starting point.
Re-build ACRN UEFI Executable
The ACRN prebuilt UEFI executable acrn.efi is compiled for the
single post-launched VM SDC scenario by default. To activate additional
post-launched VMs, you need to enable the SDC2 scenario and rebuild
the UEFI executable using the following steps:
Refer to Build ACRN from Source to set up the development environment for re-compiling the UEFI executable from the ACRN source tree.
Enter the
hypervisordirectory under the ACRN source tree and use menuconfig to reconfigure the ACRN hypervisor for SDC2 scenario. The following example starts with the configurations for thekbl-nuc-i7board as a template. You can specify another board type which is closer to your target system.$ cd hypervisor/ $ make defconfig BOARD=kbl-nuc-i7 $ make menuconfig
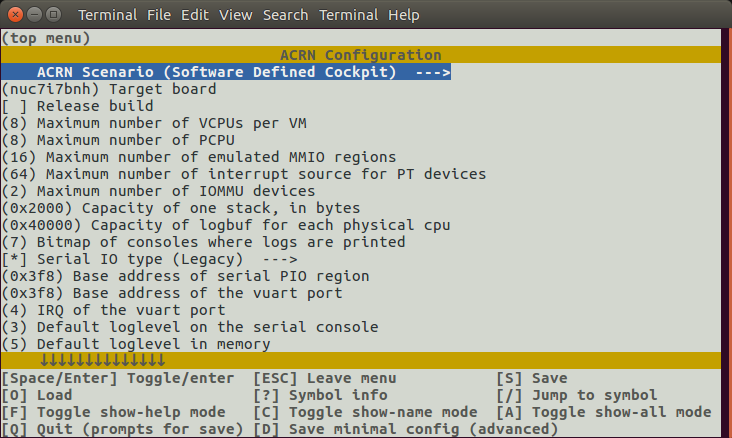
Select
Software Defined Cockpit 2option for the ACRN Scenario configuration: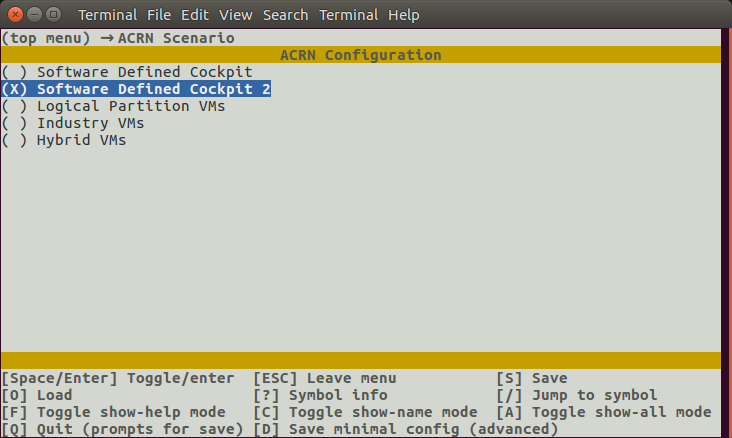
Press D to save the minimum configurations to a default file
defconfig, then press Q to quit the menuconfig script.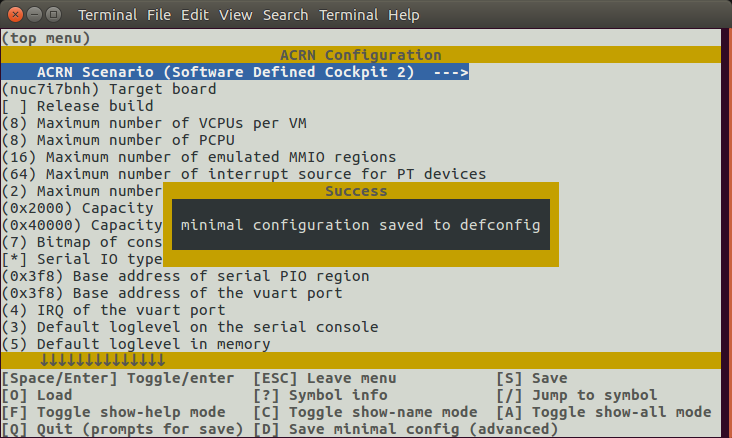
Create a new BOARD configuration (say
mydevice) with the SDC2 scenario you just enabled. Replace the followingkbl-nuc-i7soft linked target by the board type you specified in the previous step (if different):$ cp defconfig arch/x86/configs/mydevice.config $ ln -s kbl-nuc-i7 arch/x86/configs/mydevice
Go to the root of ACRN source tree to build the ACRN UEFI executable with the customized configurations:
$ cd ..
$ make FIRMWARE=uefi BOARD=mydevice
Copy the generated
acrn.efiexecutable to the ESP partition. (You may need to mount the ESP partition if it’s not mounted.)$ sudo mount /dev/sda1 /boot $ sudo cp build/hypervisor/acrn.efi /boot/EFI/acrn/acrn.efi
Reboot the ACRN hypervisor and the Service VM.
Launch User VMs with predefined UUIDs
In the SDC2 scenario, each User VMs launched by the ACRN device model acrn-dm
must use one of the following UUIDs:
d2795438-25d6-11e8-864e-cb7a18b34643495ae2e5-2603-4d64-af76-d4bc5a8ec0e538158821-5208-4005-b72a-8a609e4190d0
As shown below, add the -U parameter to the launch_uos.sh script
to attach the specific VM through an acrn-dm command. For example, the
following code snippet is used to launch VM1:
acrn-dm -A -m $mem_size -c $2 -s 0:0,hostbridge -s 1:0,lpc -l com1,stdio \
 -s 2,pci-gvt -G "$3" \
 -s 5,virtio-console,@pty:pty_port \
 -s 6,virtio-hyper_dmabuf \
 -s 3,virtio-blk,clear-27550-kvm.img \
 -s 4,virtio-net,tap0 \
 $logger_setting \
 --mac_seed $mac_seed \
 -U d2795438-25d6-11e8-864e-cb7a18b34643 \
 -k /usr/lib/kernel/default-iot-lts2018 \
 -B "root=/dev/vda3 rw rootwait maxcpus=$2 nohpet console=tty0 console=hvc0 \
 console=ttyS0 no_timer_check ignore_loglevel log_buf_len=16M \
 consoleblank=0 tsc=reliable i915.avail_planes_per_pipe=$4 \
 i915.enable_hangcheck=0 i915.nuclear_pageflip=1 i915.enable_guc_loading=0 \
 i915.enable_guc_submission=0 i915.enable_guc=0" $vm_name
Likewise, the following code snippet specifies a different UUID and a
different network tap device tap1 to launch VM2 and connect VM2 to
the network:
acrn-dm -A -m $mem_size -c $2 -s 0:0,hostbridge -s 1:0,lpc -l com1,stdio \
 -s 2,pci-gvt -G "$3" \
 -s 5,virtio-console,@pty:pty_port \
 -s 6,virtio-hyper_dmabuf \
 -s 3,virtio-blk,ubuntu-16.04.img \
 -s 4,virtio-net,tap1 \
 -s 7,virtio-rnd \
 $logger_setting \
 --mac_seed $mac_seed \
 -U 495ae2e5-2603-4d64-af76-d4bc5a8ec0e5 \
 -k /usr/lib/kernel/default-iot-lts2018 \
 -B "root=/dev/vda rw rootwait maxcpus=$2 nohpet console=tty0 console=hvc0 \
 console=ttyS0 no_timer_check ignore_loglevel log_buf_len=16M \
 consoleblank=0 tsc=reliable i915.avail_planes_per_pipe=$4 \
 i915.enable_hangcheck=0 i915.nuclear_pageflip=1 i915.enable_guc_loading=0 \
 i915.enable_guc_submission=0 i915.enable_guc=0" $vm_name
Note
The i915 GPU supports three hardware pipes to drive the displays,
however only certain products are designed with circuitry needed to
connect to three external displays. On a system supporting two external
displays, because the primary display is assigned to the Service VM at
boot time, you may remove the -s 2,pci-gvt -G "$3" options in one of
the previous VM-launching example scripts to completely disable the
GVT-g feature for that VM. Refer the GVT-g high-level design for
detailed information.
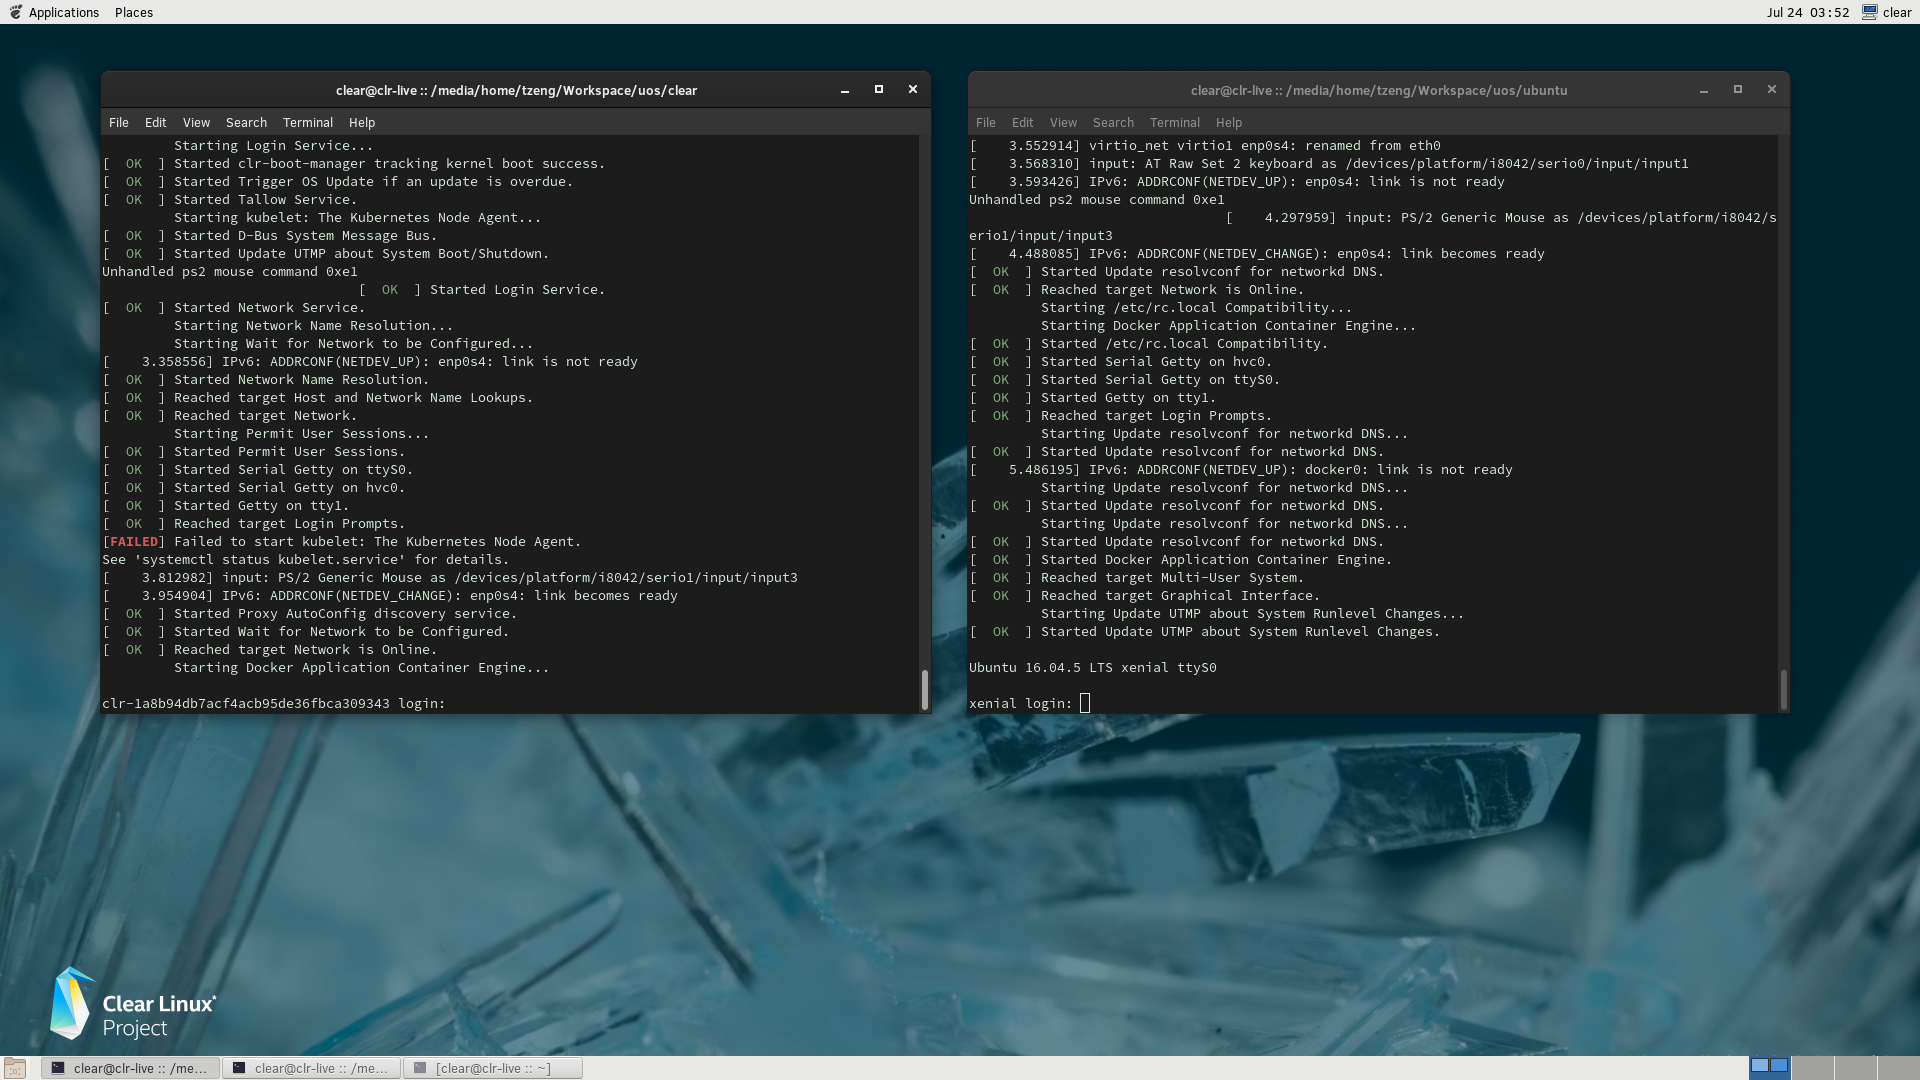
Here’s a screen shot of the resuting launch of the Clear Linux and Ubuntu User VMs, with a Clear Linux Service VM: