Run Celadon as the User VM OS
Introduction to Celadon
Celadon —- An open source Android software reference stack for Intel architecture.
This tutorial describes how to run Celadon Android as the User VM OS on ACRN hypervisor.
If you want to learn more about Celadon, refer to the official Celadon documentation.
Build Celadon Image from Source
Before building the Celadon image, please make sure your development workstation meets the following requirements: A 64-bit workstation running Ubuntu with 64GB memory and 350GB of free disk space. If your workstation does not meet these requirements, you may encouter unexpected errors.
Follow these instructions to build the Celadon images:
Install the repo tools:
mkdir -p ~/bin
curl https://storage.googleapis.com/git-repo-downloads/repo > ~/bin/repo
chmod a+x ~/bin/repo
export PATH=~/bin:$PATH
Install the required building packages:
sudo apt update
sudo apt install openjdk-8-jdk git ccache automake \
 lzop bison gperf build-essential zip curl \
 zlib1g-dev g++-multilib python3-networkx \
 libxml2-utils bzip2 libbz2-dev libbz2-1.0 \
 libghc-bzlib-dev squashfs-tools pngcrush \
 schedtool dpkg-dev liblz4-tool make optipng maven \
 libssl-dev bc bsdmainutils gettext python3-mako \
 libelf-dev sbsigntool dosfstools mtools efitools \
 python3-pystache git-lfs python3 flex clang libncurses5 \
 fakeroot ncurses-dev xz-utils python3-pip ninja-build \
 cryptsetup-bin cutils cmake pkg-config xorriso mtools
sudo pip3 install mako==1.1.0 meson==0.60.0 dataclasses
sudo su
cd /usr/local/
wget https://github.com/KhronosGroup/glslang/releases/download/SDK-candidate-26-Jul-2020/glslang-master-linux-Release.zip && \
unzip glslang-master-linux-Release.zip bin/glslangValidator
Download the source code
mkdir ~/civ
cd ~/civ
We choose Celadon Android 14 Base Releases CIV_00.23.04.51_A14. Repo tool will download the entire source code into your local environments and it will cost several hours depending on your network.
repo init -u https://github.com/projectceladon/manifest -b master -m stable-build/CIV_00.23.04.51_A14.xml
repo sync -c -q -j5
Disable Trusty:
Trusty is a mandatory component since Android Oreo Desert onwards. However, it’s easier to boot Celadon as VM without Trusty feature. So we recommend to disable trusty. To disable, set the ‘trusty’ and ‘tpm’ options to false in the mixins config file
civ/device/intel/projectceladon/caas/mixins.specas follows:[groups] device-specific: celadon treble: true .... tpm: false .... trusty: false
After modifing
mixins.spec, you must run theciv/device/intel/mixins/mixin-updatescript to apply the changes.Enter the following commands to initialize your build variables and specifiy your celadon lunch target using
lunchtarget:source build/envsetup.sh lunch caas
Meanwhile, the following trusty related configs in Android kernel at
device/intel/mixins/groups/kernel/gmin64/config-lts/linux-intel-lts2022/x86_64_defconfigshould be disabled as:# CONFIG_TCG_TPM is not set # CONFIG_HW_RANDOM_TPM is not set # CONFIG_TRUSTY is not set # CONFIG_TRUSTY_LOG is not set # CONFIG_TRUSTY_VIRTIO is not set # CONFIG_TRUSTY_VIRTIO_IPC is not set # CONFIG_TRUSTY_X86_64 is not set # CONFIG_TRUSTY_BACKUP_TIMER is not set
Run mixin command to apply this changes:
cd ~/civ
mixin
Build Celadon flash image:
Then you are ready to build Celadon images. Build progress may cost several hours or even more depends on your building system:
make flashfiles -j $(nproc)
Flash Celadon image into disk:
Caution: Please remain only one hard disk (the disk will be entirely removed and flashed) in your destination platform, otherwise Celadon may flash into the wrong disk and cause data loss. There are two ways to do: i. Physically remove the hard disk. ii. Disable the sata(or nvme) slot in the BIOS settings.
We test this VM in an ASUS MiniPC with two disk slots: one is a m.2 nvme slot and one is a sata slot. We run service OS (Ubuntu) on a sata disk and run guest OS(Celadon Android) on a nvme disk.
Prepare an empty USB disk and plug it into your development platform, run
lsblkcommand to find it. Assume it’s/dev/sdchere.cd ~/civ/out/target/product/caas unzip caas-flashfile-eng.dot.iso.zip sudo dd if=~/civ/caas-flashfile-eng.dot.iso of=/dev/sdc status=progress sudo eject /dev/sdc
Unplug the USB disk and plug it into your destination platform. Power on your destination platform and boot into this USB disk via BIOS settings. The flash progress will require you press UP or PgUp to continue. When flash done, you can boot into Celadon Android.
ACRN Service VM Setup
Follow the steps in this Getting Started Guide to set up ACRN based Ubuntu and launch the Service VM. Modifiy the ACRN device model parameters in
launch_user_vm_id1.shas follows:dm_params=( `add_cpus 8 9 16 17` -m 8192M --ovmf /usr/share/acrn/bios/OVMF.fd `add_virtual_device 1:0 lpc` `add_virtual_device 0:0 hostbridge` `add_virtual_device 3 virtio-console @stdio:stdio_port` `add_passthrough_device 2 0000:00:02.0` `add_passthrough_device 4 0000:00:14.0` `add_interrupt_storm_monitor 10000 10 1 100` `add_passthrough_device 5 0000:01:00.0` `add_logger_settings console=4 kmsg=3 disk=5` VM1 )
Boot Celadon VM
Remotely connect to the target system via SSH and Boot Celadon VM via the launch script
launch_user_vm_id1:sudo chmod +x ./launch_user_vm_id1.sh sudo ./launch_user_vm_id1.sh
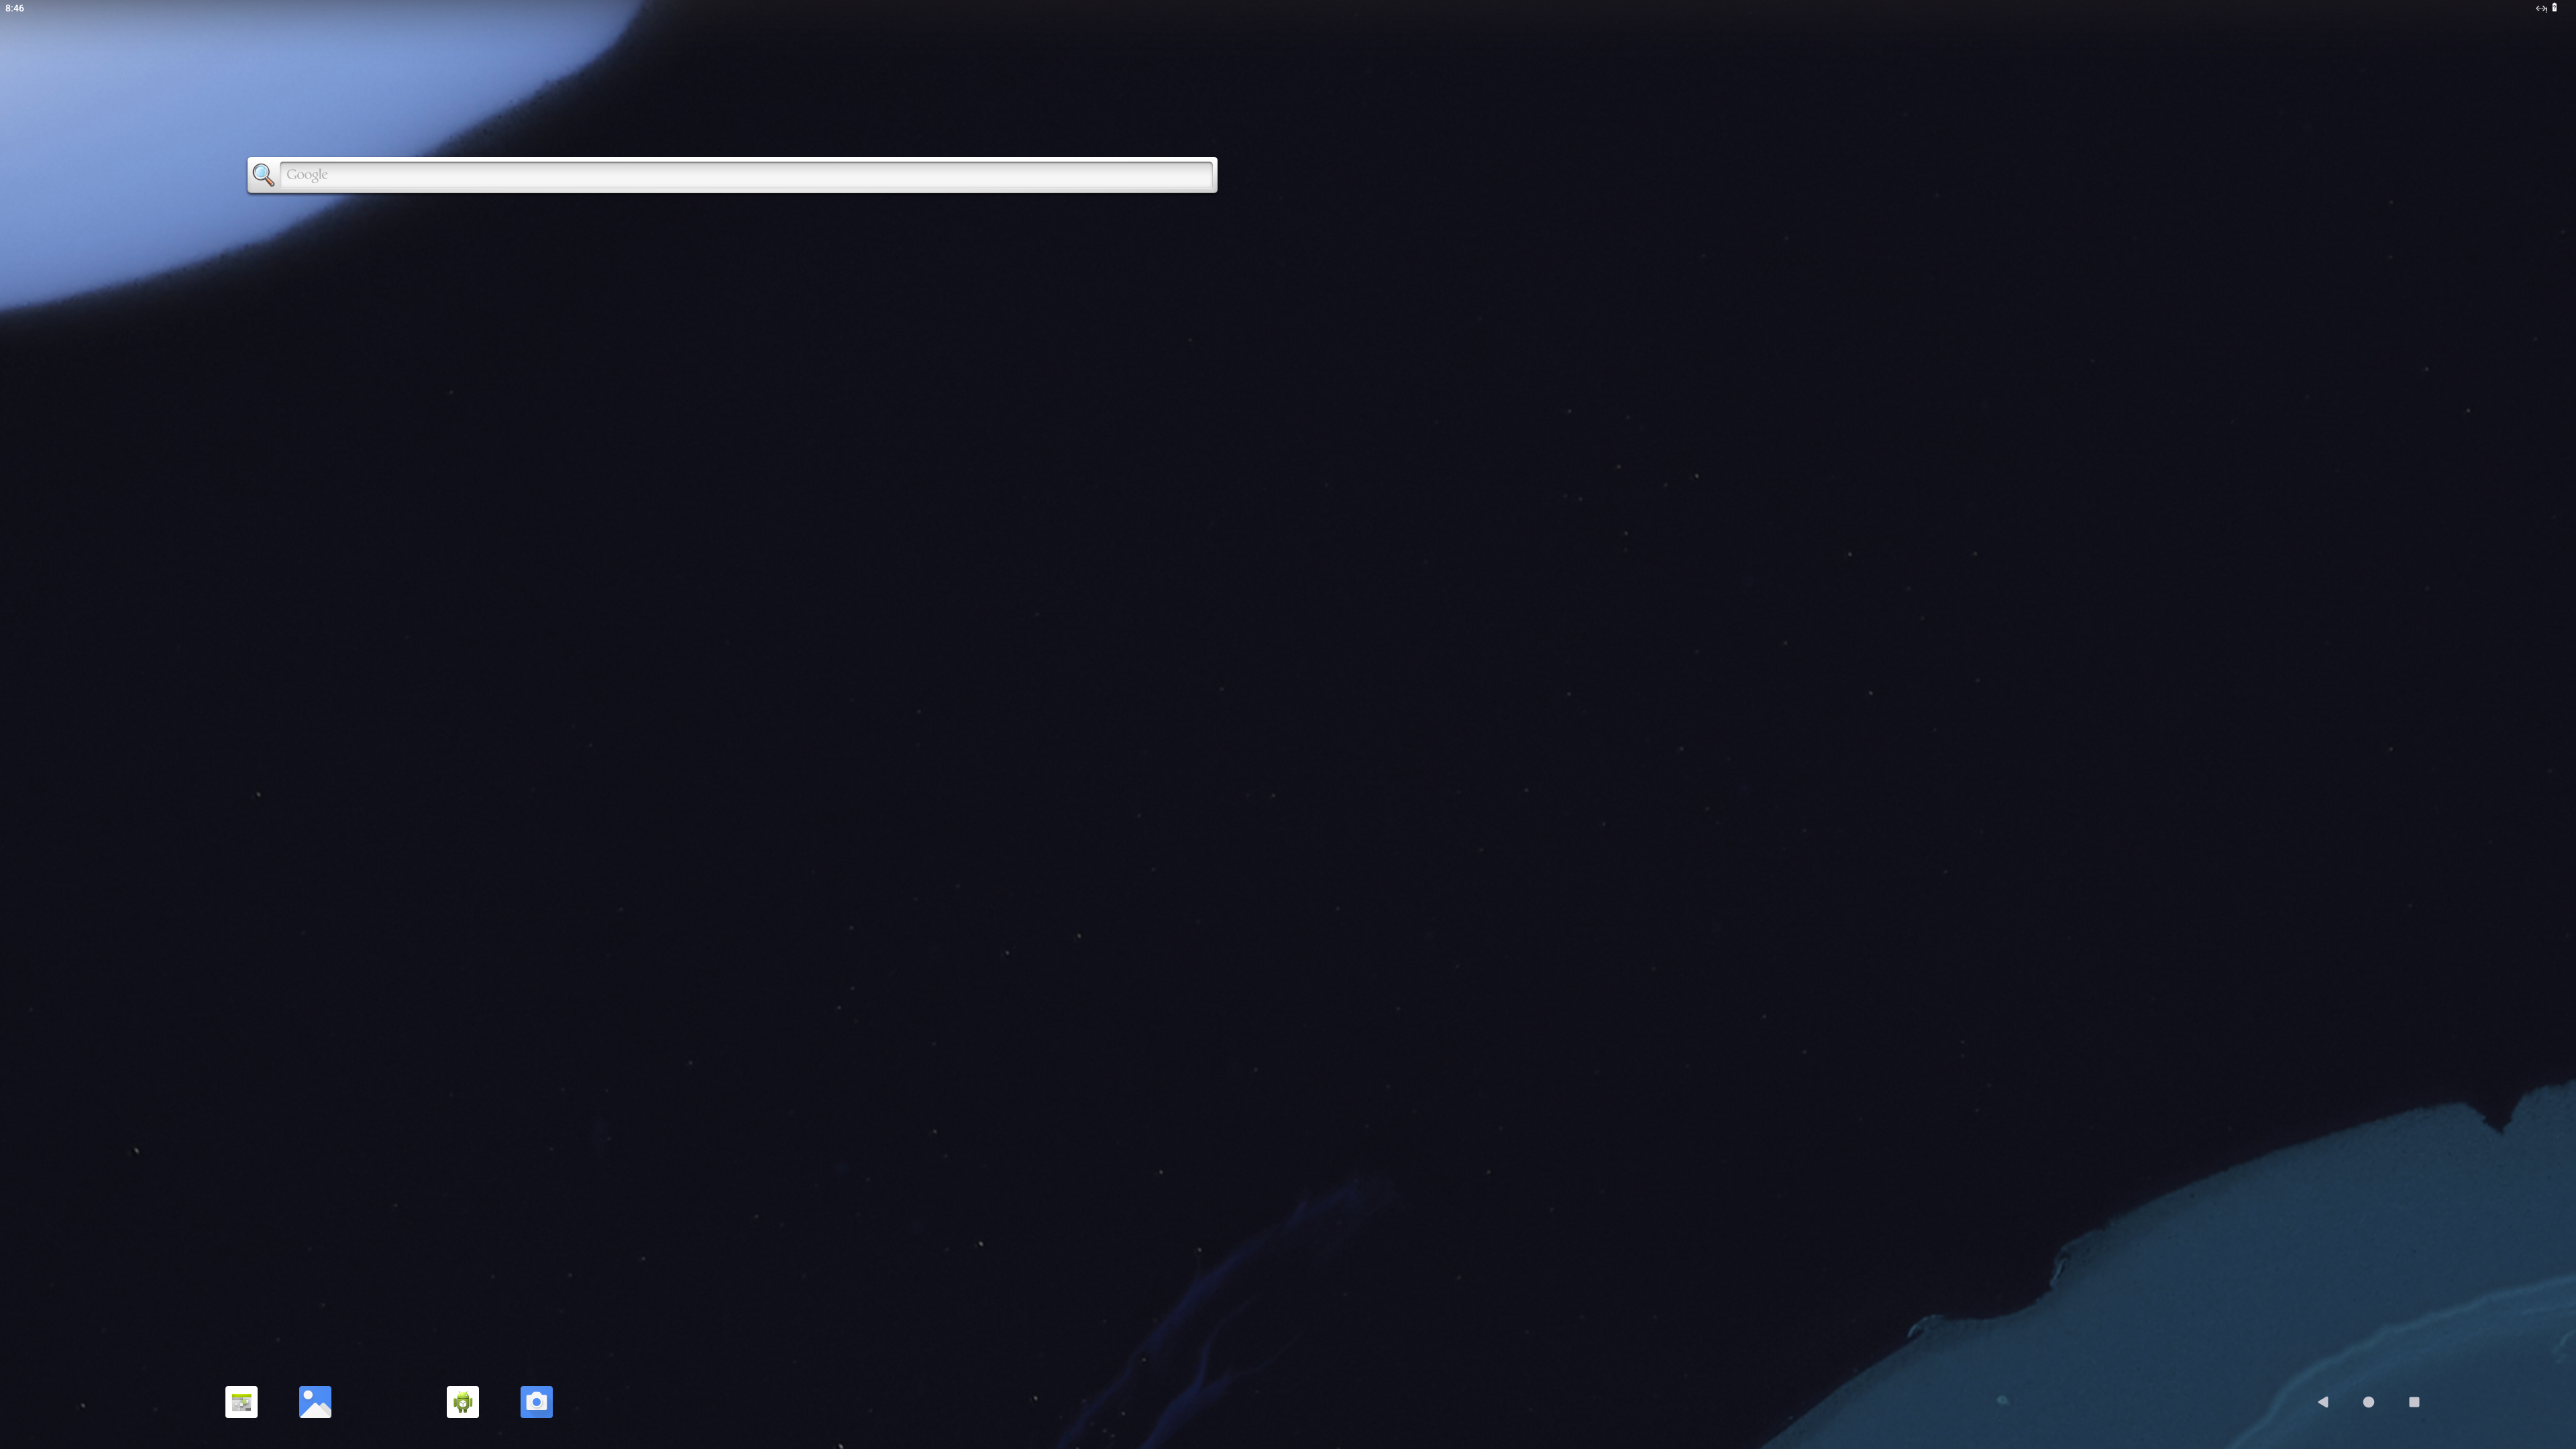
Then the screen will temperatory go off. Wait for about one minute and the Android UI will appear as: